Worksheets
Worksheets group analyses into a unit of bench work. They are useful when work is organized by method, instrument, analyst, bench, batch, or QC event rather than by whole sample.
When to Use Worksheets
| Use Worksheets | Open Samples Directly |
|---|---|
| Many samples share the same analysis | One-off samples |
| QC controls, blanks, or duplicates must be reviewed beside routine samples | Simple low-volume work |
| Instrument import/export is part of the process | Manual entry only |
| Analysts work by bench or method | One analyst owns the entire sample |
Create a Worksheet
- Open Worksheets.
- Select Add.
- Choose analyst, department, method, instrument, or template fields as configured.
- Save.
- Add received, unassigned analyses.
Only analyses in the appropriate state and not already assigned to another worksheet are normally available.
Worksheet Templates
Templates create repeatable worksheet layouts for common benches. Use them when the same analysis grouping happens daily or weekly.
Add QC Controls
Reference materials, blanks, spikes, and duplicates can be added to worksheets where configured. This keeps QC review in the same context as routine samples.
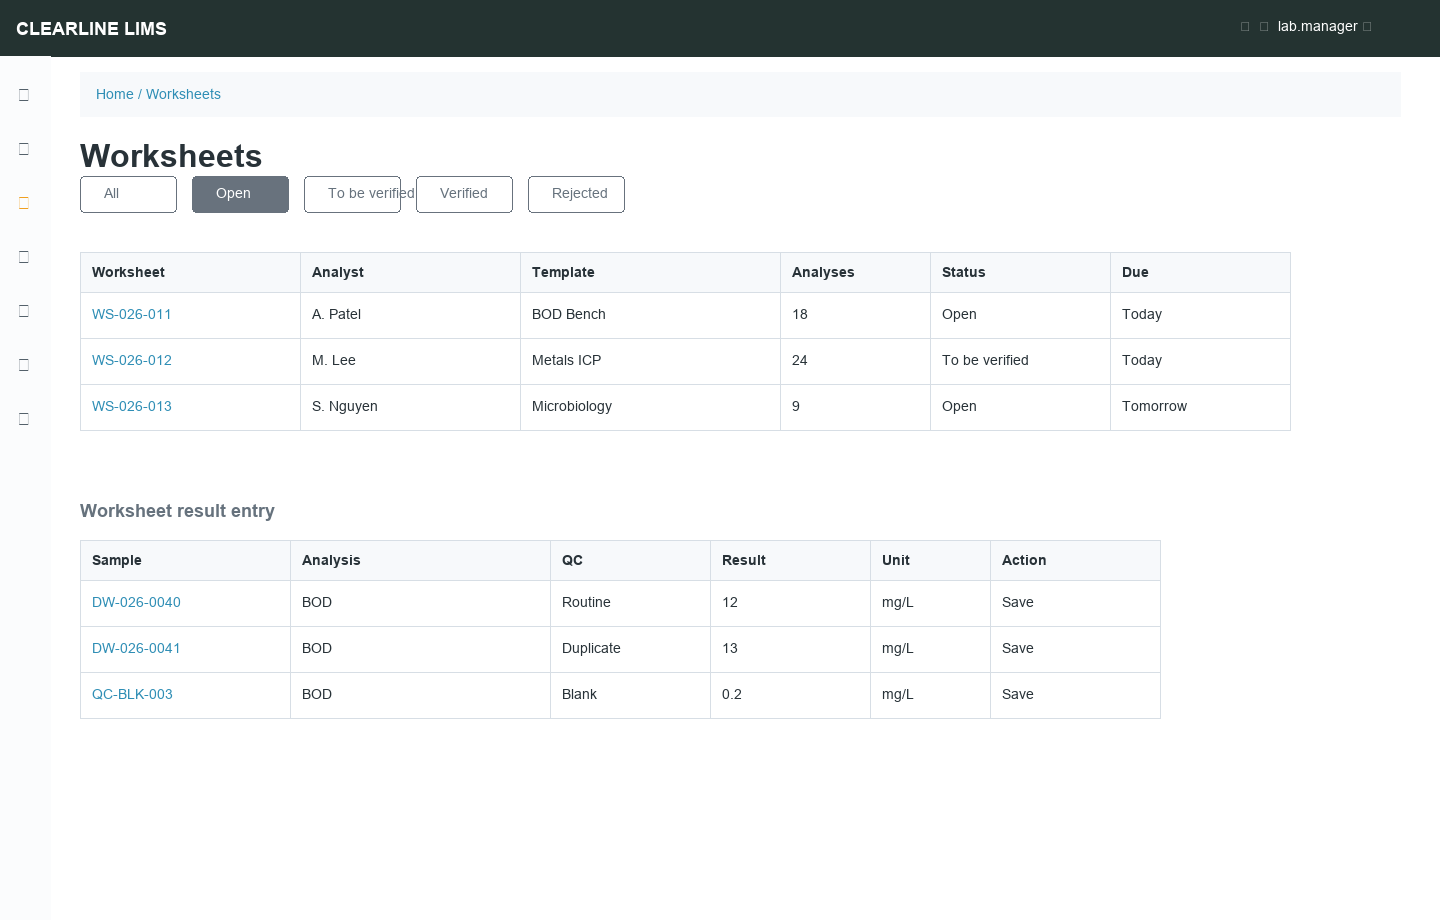
Enter and Submit Worksheet Results
Enter values row by row, save as needed, then submit the worksheet when the batch is complete. Samples whose analyses are all submitted move to To be Verified.
Instrument Integration
Worksheets may be exported to instruments or populated from instrument result files when an integration is configured. If your instrument output changes format, contact support before relying on imported results.