Registering Samples
Sample registration creates the record your lab will track through receipt, analysis, verification, and publication.
Before You Register
Confirm you have:
| Required Item | Notes |
|---|---|
| Client | The owner of the sample |
| Contact | Required for report delivery and sample ownership |
| Sample type | Drives ID prefixes, retention rules, and available analyses |
| Date sampled | Required for traceability and holding-time decisions |
| Requested analyses | Selected manually or through a profile/template |
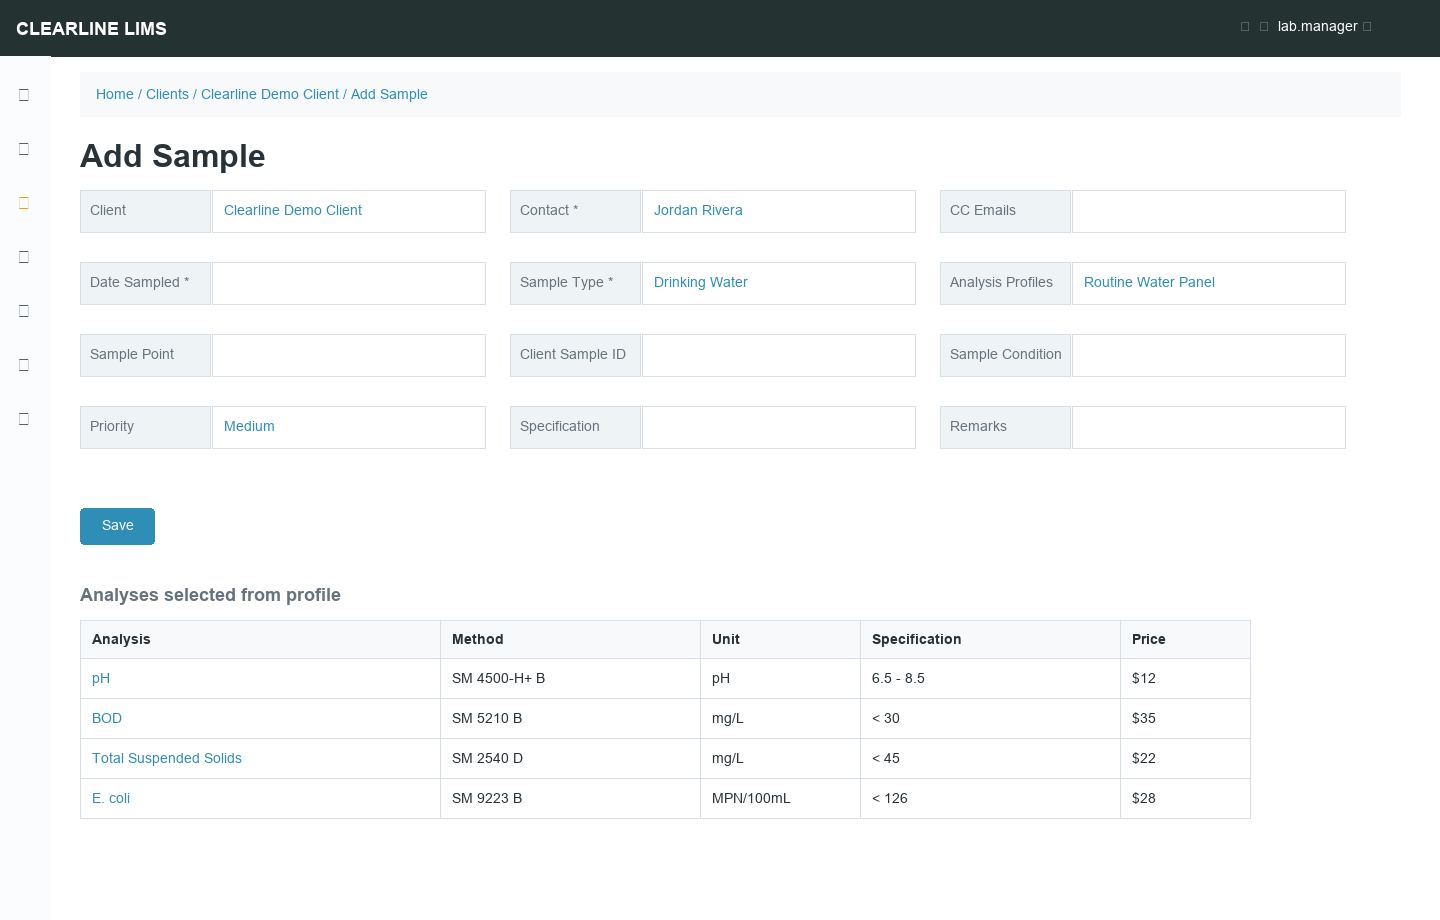
Register One Sample
- Open the client record.
- Go to samples and select Add.
- Select the contact, date sampled, sample type, sample point, and priority.
- Choose an analysis profile or select individual analyses.
- Add remarks, client sample ID, or attachments if needed.
- Save.
The sample is created in Sample Due status unless your lab uses auto-receive.
Register Multiple Samples
For repeated intake, use the multi-sample form where configured. Fill shared values once, copy them across rows, then adjust sample-specific fields such as sample point, collection time, or requested profile.
Use Analysis Profiles
Profiles add a preconfigured set of analyses. Use them for common panels like routine drinking water, wastewater, metals, microbiology, or customer-specific packages.
Profile-added analyses may be locked. Locked analyses preserve the profile’s required test set and prevent accidental removal.
Use Sample Templates
Templates can prefill sample type, analyses, sample point, container, preservation, or other routine values. Use templates when the same intake pattern repeats often.
Copy an Existing Sample
Copying a prior sample is useful when the client, sample type, sample point, and analyses are nearly identical. Review every copied field before saving; do not assume collection date, priority, or contact are still correct.
Attachments
Use attachments for chain-of-custody files, client paperwork, field photos, instrument files, or supporting documents. Use descriptive file names and avoid uploading unrelated documents to the sample record.
Common Registration Mistakes
| Issue | Fix |
|---|---|
| Missing contact | Add or activate a contact under the client |
| Wrong sample type | Correct before receiving if possible; contact support if IDs have already been issued |
| Wrong analyses | Use Manage Analyses before verification |
| Duplicate sample | Cancel the duplicate and note the correct Sample ID |