Getting Started
Log In
- Open your lab URL, such as
https://yourlab.clearlinelims.com. - Enter your login name and password.
- Select Log in.
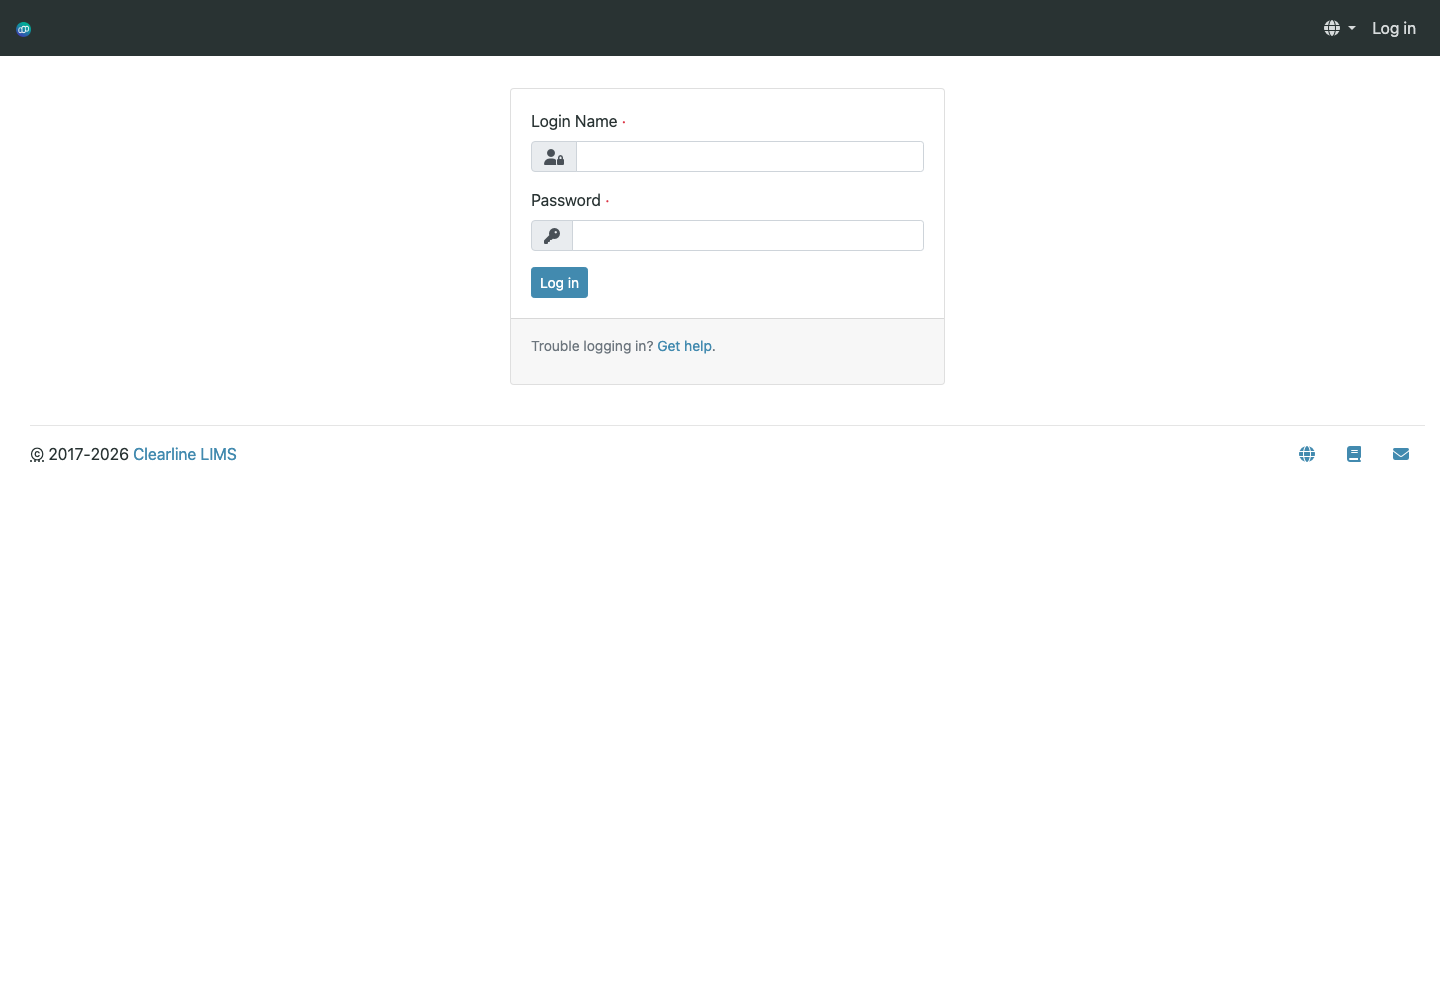
If you cannot log in, use Get help on the login screen or contact support. Clearline support creates staff accounts and assigns roles; client portal access is granted per contact.
The Main Screen
After login, most users land on a dashboard or listing page. The standard layout has:
| Area | Purpose |
|---|---|
| Top bar | Search, setup menu, language selector, and user menu |
| Left navigation | Main work areas such as Clients, Samples, Worksheets, Reports, and Setup |
| Breadcrumbs | Current location and a fast way back to parent records |
| State filters | Tabs such as Active, Due, Received, To be verified, Verified, Published |
| Actions | Buttons that appear based on your role and the selected records |
Core Terms
| Term | Meaning |
|---|---|
| Client | Organization, department, or account that owns samples |
| Contact | Person associated with a client; receives reports and may have portal access |
| Sample | The submitted material being tested; historically called an Analysis Request in parts of SENAITE |
| Analysis | One test or measurement performed on a sample |
| Profile | A saved group of analyses that can be applied during sample registration |
| Worksheet | A batch of analyses grouped for bench, analyst, method, instrument, or QC context |
| COA | Certificate of Analysis, the final report delivered to the client |
First Workflow in Five Minutes
- Register a sample under a client and contact.
- Receive the sample when the physical item arrives.
- Enter results on the sample or worksheet.
- Submit results for review.
- Verify results as an authorized reviewer.
- Publish the report.
Every section of this guide expands one of those steps.
Browser Guidance
Use a current version of Chrome, Edge, Firefox, or Safari. If a page looks stale after workflow actions, refresh the page before retrying. Do not use multiple tabs to edit the same sample at the same time.