LIMS Sample Intake Workflow: Steps and Receipt Checklist
Evaluate sample intake from delivery through identity, receipt, condition, exceptions, acceptance, assignment, labels, and the first work queue.
Sample intake checklist: the short answer
A LIMS sample intake workflow connects a delivered item to an identified record, receipt observations, an acceptance decision, and work assignment. Use this short sequence to hand the evaluation to your receiving team:
- Match the item, request, and laboratory identifier.
- Record physical receipt separately from advance registration.
- Capture condition and missing information under the lab's procedure.
- Record acceptance, hold, or non-acceptance with a decision owner.
- Assign only accepted work and carry unresolved exceptions forward visibly.
Download the sample intake checklist (CSV) and record the owner, evidence, and unresolved decision for your own scenario. For water and environmental receipt exceptions, use Download the environmental receipt review (CSV) alongside the water-testing workflow guide. Compare the proposed reception scope on the testing-lab LIMS page.
A sample intake workflow should answer one practical question: what must happen between delivery and a sample becoming accepted and ready for assigned work?
A well-defined intake process establishes identity, records receipt, captures the condition observed at receipt, compares the delivered material with the request, routes exceptions to a decision-maker, and assigns only work the laboratory has accepted. It should make the admission decision visible instead of treating “logged in” as proof that the sample is ready to test.
Two 2025 public procurements illustrate the kinds of intake capabilities particular laboratories asked vendors to address. Metro Water requested unique sample identifiers, barcode or QR-code integration, and tracking across receipt, storage, processing, and disposal. Abilene requested day-of label generation, barcode and label integration, attachments to sample records, and alerts for expiring samples. These are examples from named buyers; your laboratory should define its own fields, states, and controls.
Draw a clear boundary around intake
In this guide, intake begins when a delivery is presented to the laboratory or matched to a previously registered record. It ends when the laboratory records a disposition: accepted for defined work, held for resolution, or not accepted under the laboratory’s procedure.
Preparation, analysis, result review, reporting, later transfers, retention, and disposal belong to later workflow stages. Intake should hand reliable identifiers and context into those stages without trying to solve the entire sample lifecycle.
This boundary makes product demonstrations more useful. Ask the vendor to stop once the sample has been admitted and work has been assigned. Then inspect the record. A polished report screen cannot compensate for missing receipt facts or an unresolved delivery exception.
Build the intake record around five decisions
The exact fields should come from your approved process. These five decision areas provide a practical evaluation structure.
1. Identify the delivered item
The receiving person needs to distinguish the item from every other delivery and connect it to the correct request.
Ask:
- When is the laboratory identifier created?
- How does staff match the physical item, submitted request, and system record?
- What happens when an expected record cannot be found?
- How is an identifier protected from reuse or incorrect application?
- What must the user verify before applying a reprinted label?
A barcode is an input mechanism, not an admission decision. The demonstration should show which record the scan resolves to and how the user handles no match, multiple matches, or the wrong expected item.
2. Record the arrival event
“Received” should represent an observable event, not a synonym for “registered.” Define the receipt time, receiving role, and information the laboratory requires. If a request was entered before delivery, preserve the distinction between advance registration and physical receipt.
Ask the vendor to show both paths. Staff should be able to tell that a record exists without incorrectly concluding that the material has arrived.
3. Capture condition at receipt
The workflow should let staff record the observations required by the laboratory’s procedure using its terminology. The laboratory’s quality and operations owners—not the software vendor—should define acceptance criteria and decision authority.
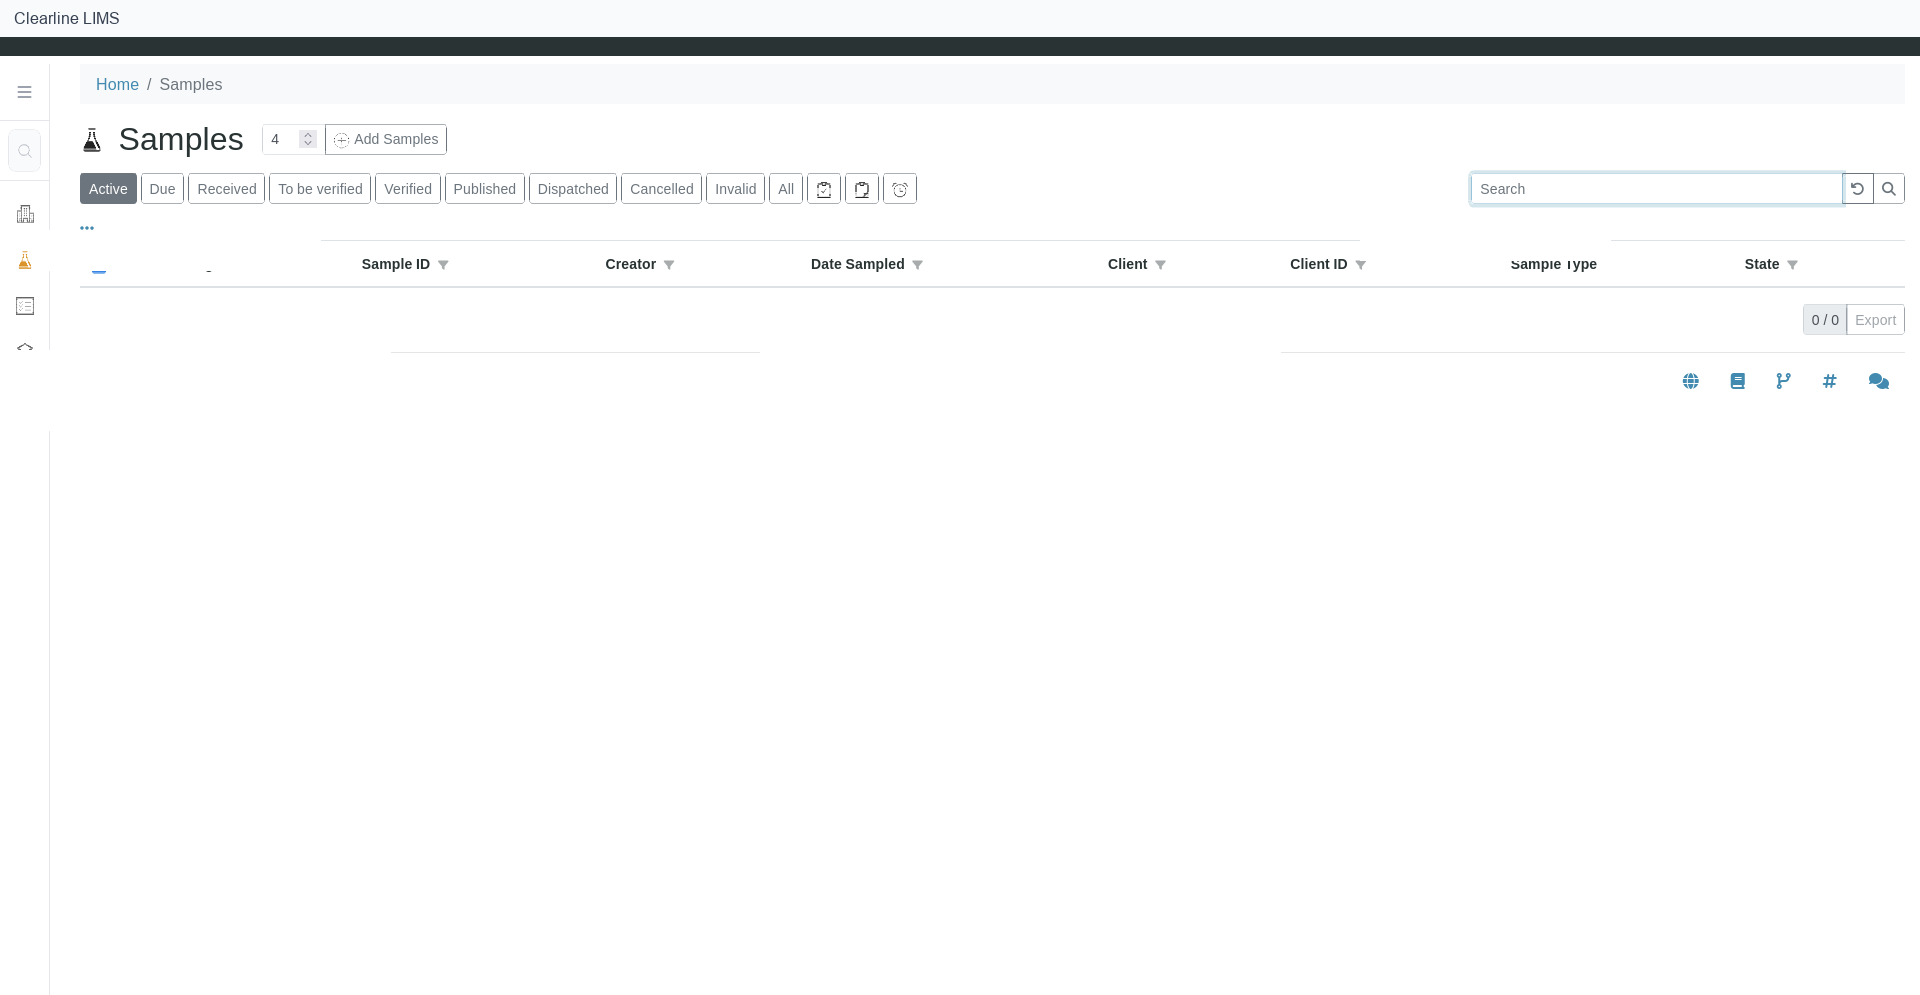
Clearline’s sample-reception documentation describes a configured path in which a user locates a newly registered sample, confirms its details and condition, marks it received using the laboratory-approved action, and confirms that it appears in the appropriate queue. Availability depends on tenant configuration, enabled modules, and configured laboratory data.
During evaluation, ask:
- Which observations are required for this request type?
- Can staff record an exception without marking the sample accepted?
- Can approved supporting material be associated with the record?
- Does the next user see the unresolved condition before starting work?
- Who may resolve the exception, and what reason is recorded?
4. Decide whether the request can proceed
A delivered item can be identifiable and physically received while the requested work remains unclear or unacceptable. Keep those facts separate.
Before assignment, the workflow should help the laboratory answer:
- What work was requested?
- Is the request sufficiently specified?
- Which missing facts or observations require review?
- Who can accept, hold, revise, or decline the request?
- What explanation is required when the disposition changes?
These are workflow-design questions, not universal rules. Define the allowed outcomes, authority, reasons, and escalation path before configuration begins.
5. Assign accepted work
Assignment is the final intake handoff. It connects the accepted sample to its first valid destination: a work queue, team, method context, analyst, or another destination included in the scope.
Do not test only the happy path. Demonstrate one accepted sample, one held sample with an owner, and one corrected request. Confirm that held work is visibly different from accepted work. Also test a failed label action, an unavailable assignment, and a record mismatch.
The result should be a decision table the laboratory can review, not just a tour of screens.
Use a repeatable intake demonstration script
For each sanitized scenario, document what the laboratory defines and what the vendor must show:
Identify
- Laboratory defines: Identifier source and matching rules.
- Vendor demonstrates: Create or locate the record and resolve a mismatch.
Receive
- Laboratory defines: Receipt event, actor, and timestamp.
- Vendor demonstrates: Distinguish advance registration from physical receipt.
Inspect
- Laboratory defines: Required observations and terminology.
- Vendor demonstrates: Record a normal condition and an exception.
Decide
- Laboratory defines: Allowed outcomes, decision owners, and reasons.
- Vendor demonstrates: Accept, hold, correct, or decline under the lab’s rules.
Assign
- Laboratory defines: Valid destinations and prerequisites.
- Vendor demonstrates: Route accepted work while keeping held work separate.
Label
- Laboratory defines: Approved content and reprint checks.
- Vendor demonstrates: Print or export, verify details, and handle failure.
Attach
- Laboratory defines: Permitted artifacts and access rules.
- Vendor demonstrates: Associate an approved, sanitized example.
Use the same script with every shortlisted product. Record whether each step is standard, configured, custom, third-party, or unavailable. Note what must already exist—such as sample types, analyses, labels, roles, or output templates—and who owns that setup.
Define acceptance before the demonstration
Write down what would make the intake workflow acceptable to your team. Examples of buyer-defined criteria include:
- the physical item, request, and system record remain distinguishable and connected;
- receipt is separate from advance registration;
- required observations can be recorded without forcing acceptance;
- unresolved exceptions remain visible and assigned;
- accepted and held work appear in different operational states;
- labels and attachments follow the laboratory’s approved rules; and
- each action is available only to the appropriate role.
These are suggested evaluation criteria. Adapt them to the laboratory’s procedures, accreditation obligations, data sensitivity, and operating model.
Take a representative intake scenario to Clearline
Clearline’s testing-lab page describes a workflow connecting sample intake, laboratory work, review, and reporting. For an intake evaluation, bring one sanitized scenario and ask which reception actions, fields, labels, queues, exception paths, permissions, and outputs would be included in the written scope.
If intake is your current bottleneck, evaluate the workflow with Clearline LIMS. Share the lab type, current system, bottleneck, and desired output; keep sample, client, patient, credential, report, regulated, and production data out of the initial form.
Sources
- Metropolitan Water District of Salt Lake & Sandy — 2025 LIMS RFP
- City of Abilene — RFP CB-2558
- Clearline — Receive Samples, Labels, and Chain of Custody
- Clearline LIMS — LIMS for Testing Labs
FICTIONAL example: accepted versus held samples
This illustrative example is fictional. It is not an executed product demonstration or customer evidence. Apply your laboratory-approved receipt procedure and acceptance criteria; the example does not prescribe a universal acceptance rule.
- Accepted — DEMO-A: The item label, request, and laboratory identifier agree, and the recorded receipt checks satisfy the lab’s criteria. The receiving owner records acceptance and hands the accepted work to the assigned bench owner with the receipt observations.
- Held — DEMO-B: The item label says DEMO-B, but the request says DEMO-C. The receiver records the identity mismatch and hold, preserves the original evidence, and routes the exception to the lab’s designated receipt decision owner. The next handoff is to that owner for review, not to analytical work.
- Resolution and next handoff: The responsible owner obtains the needed clarification and records a lab-approved resolution, supporting evidence, and the acceptance or non-acceptance decision. Only after documented acceptance does the owner release the work to the bench; an unresolved mismatch remains visibly held.